Overview
myIDFI AI lets you train your AI support agents using multiple types of knowledge sources so they can answer customer queries more accurately and naturally. We’ve designed this to be as simple and flexible as possible so even non-technical users can bring in their company’s knowledge and turn it into a powerful AI assistant.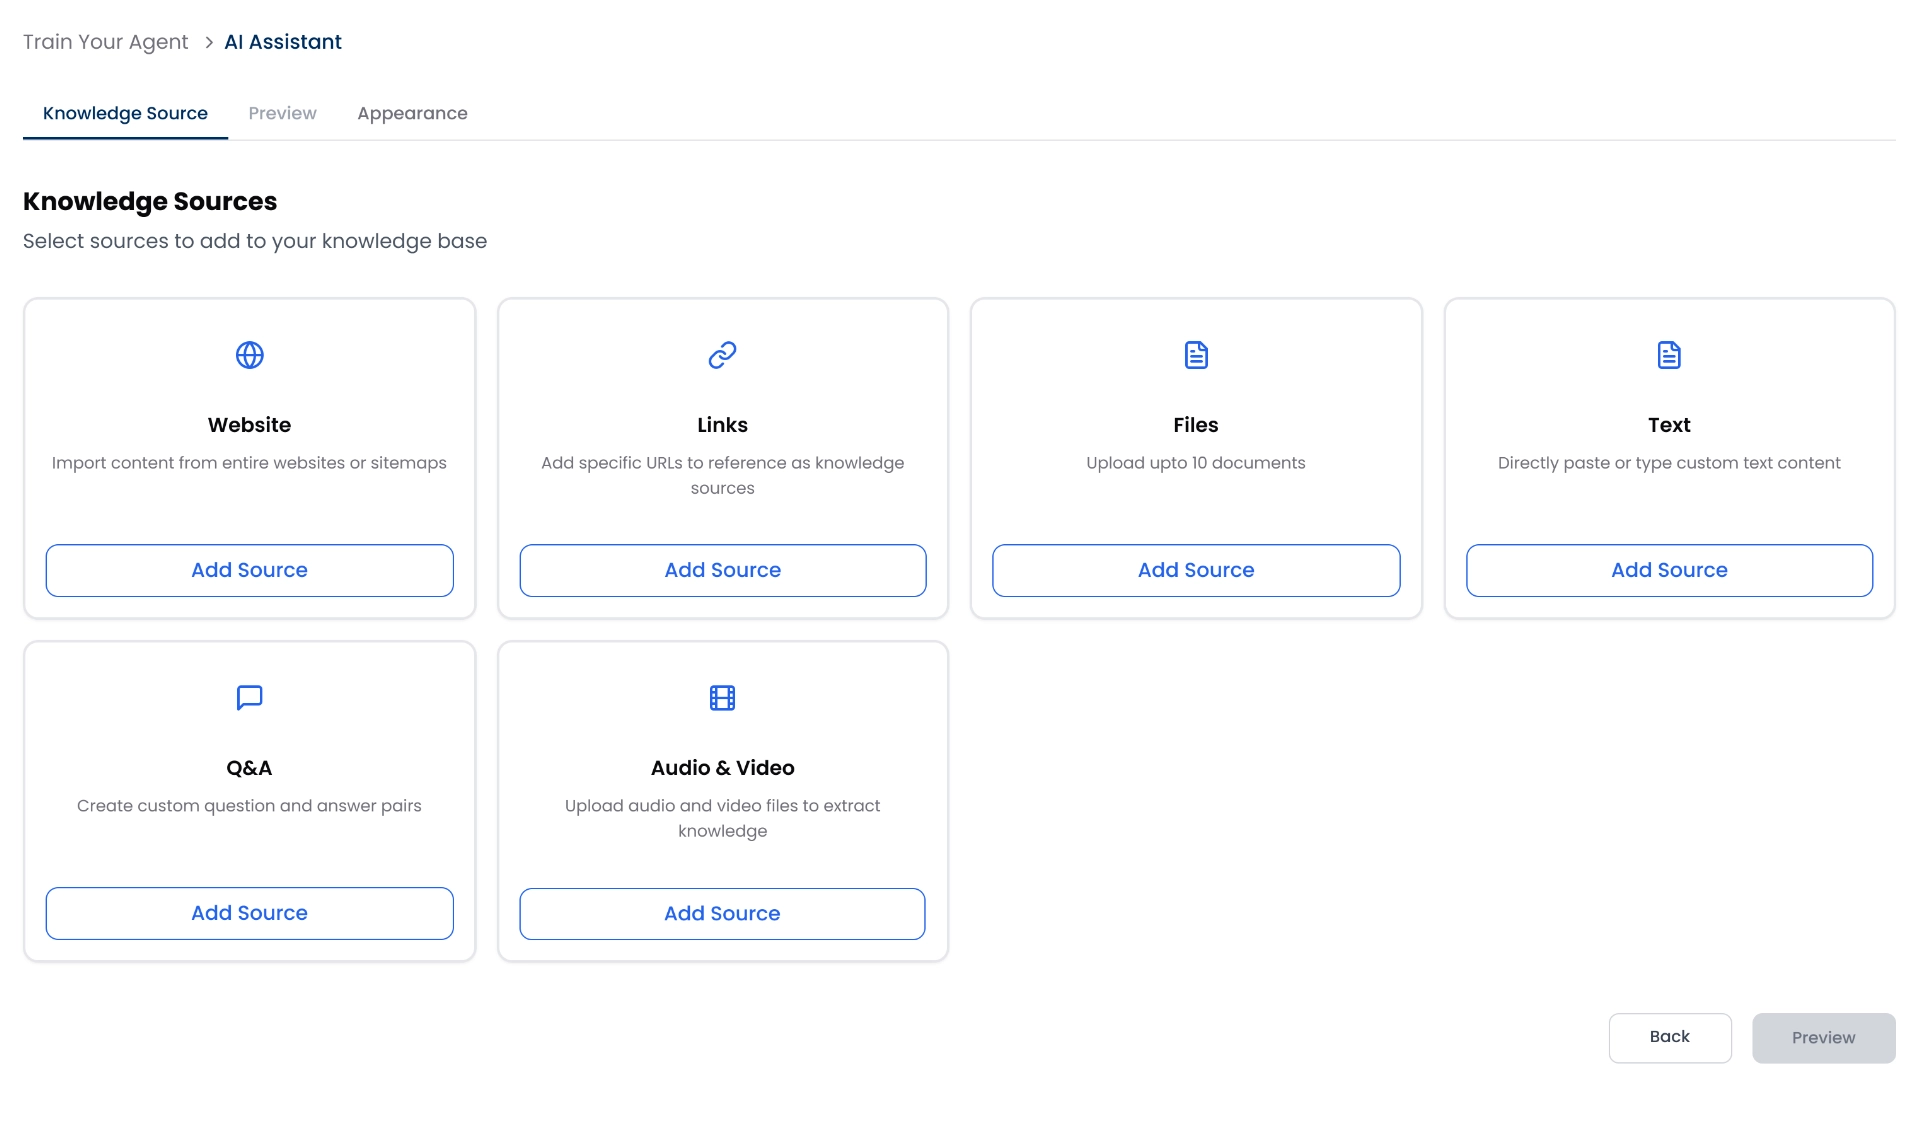
- Your own website (via URL or sitemap)
- Specific external links
- Files (PDFs)
- Text or Q&A pairs you manually provide
- Video and audio
1. Website (Crawl by URL or Sitemap)
Let your agent learn from your website content by simply adding a URL or sitemap.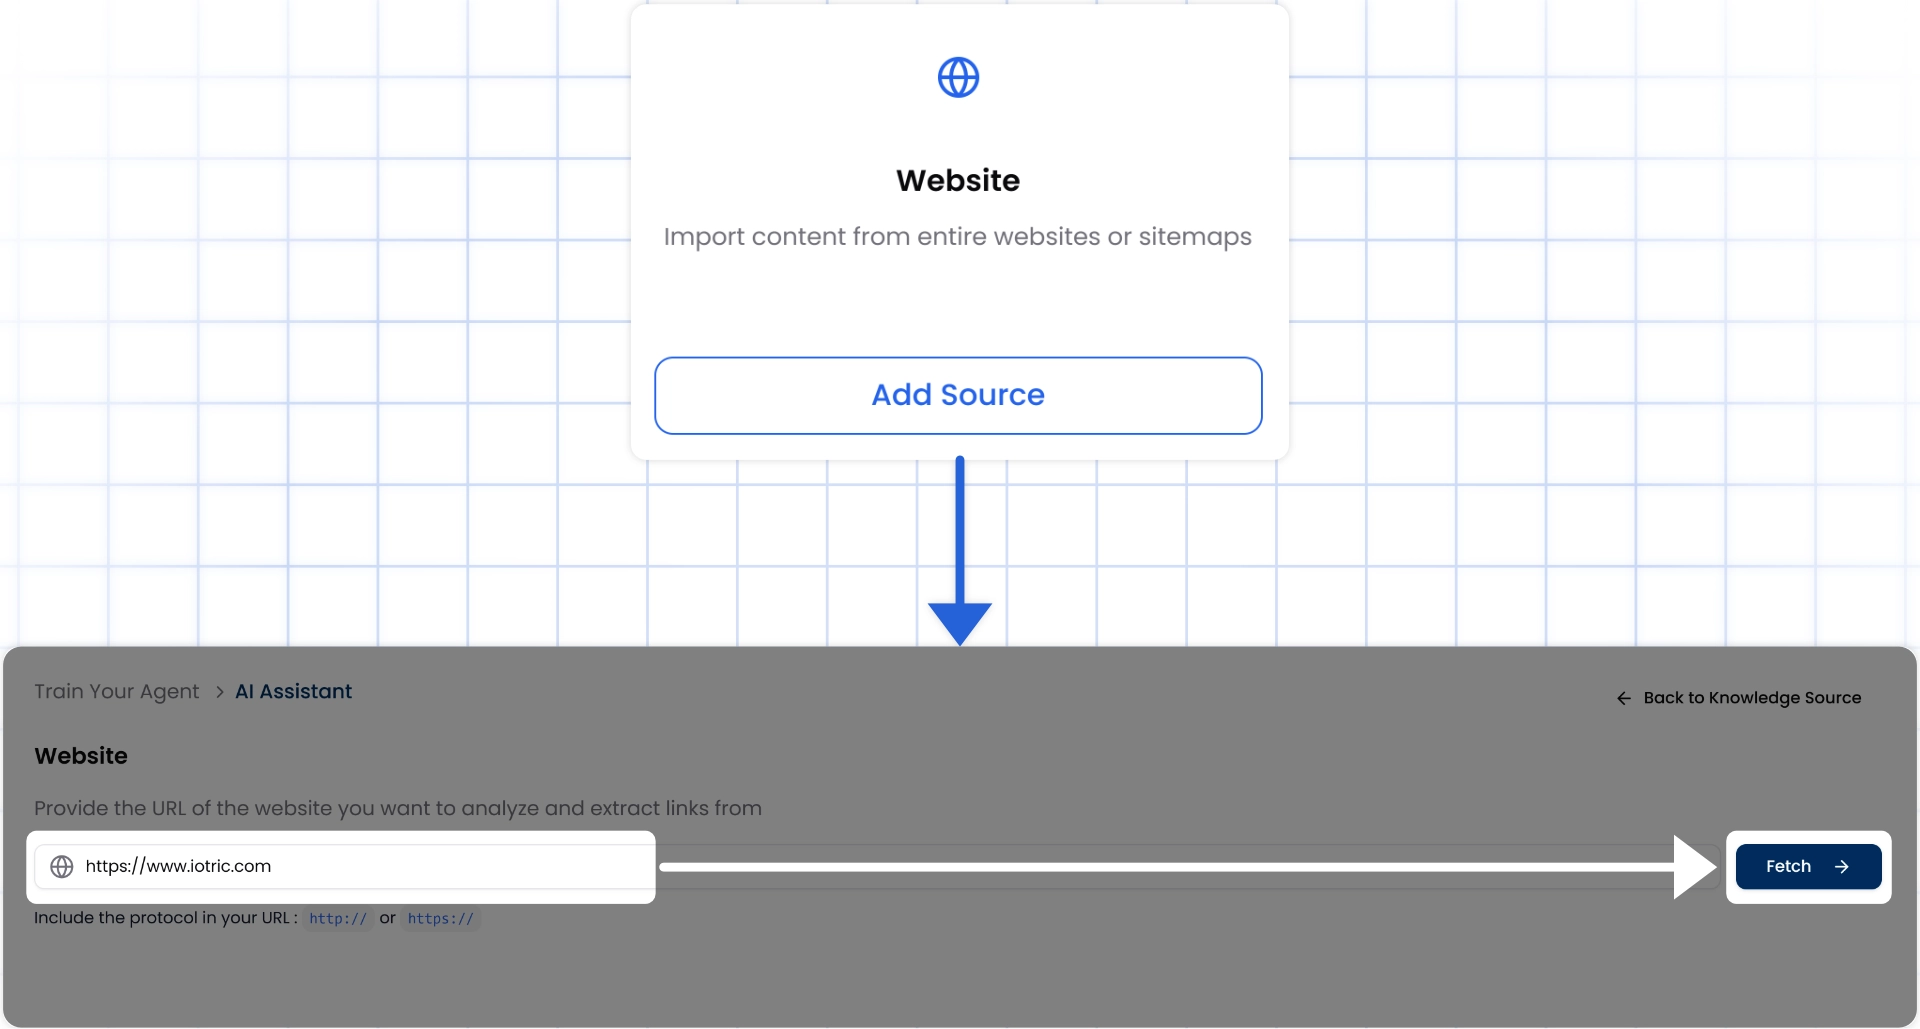
How it works:
- Click Add Source under the “Website” tab.
- Paste your website or sitemap URL.
- Click Fetch to crawl the site.
- myIDFI AI will automatically collect all crawlable pages, product pages, FAQs, help articles, blogs, etc.
- You can preview the full list of pages and manually choose which ones to include or exclude.?
- Click Save Links and then Done to return to the Knowledge Source overview.
2. External Links
Use specific URLs from different sites or tools as sources without crawling the whole website.How it works:
Click Add Source under the “Links” tab from the Knowledge Sources section.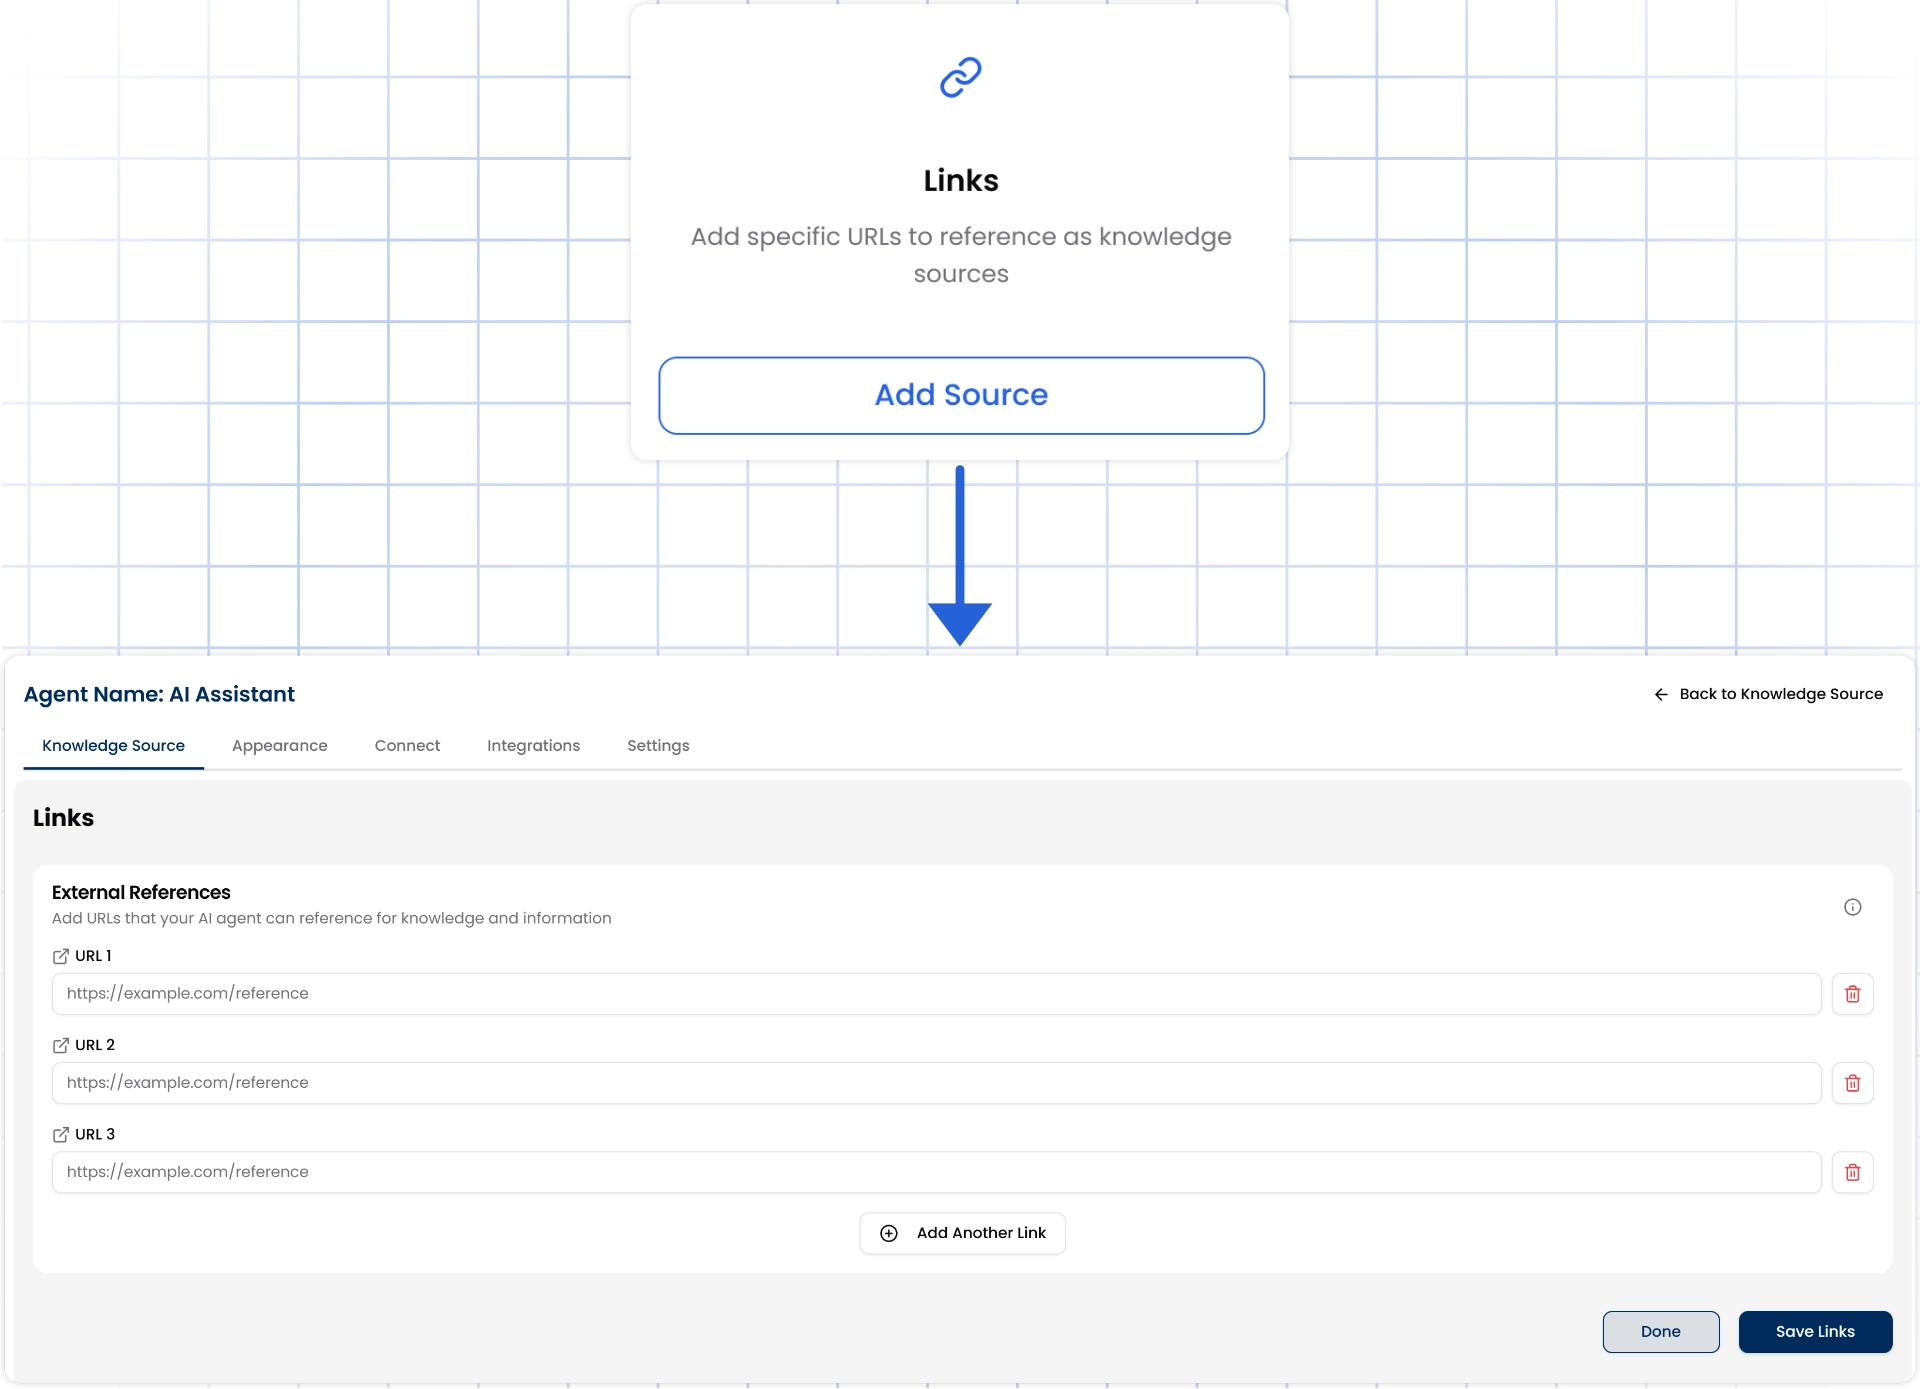
https://example.com/product-guide)
To add more links, click the Add Another Link button.
Once all the links are added, click Save Links, and the chat agent will automatically be trained on them.

Make sure the links you provide are public and don’t require login access.
3. File Uploads
You can train your agent using helpful documents like user manuals, product guides, onboarding PDFs, or internal wikis.How to upload files:
Go to the “Files” tab and click Add Source from the Knowledge Sources section.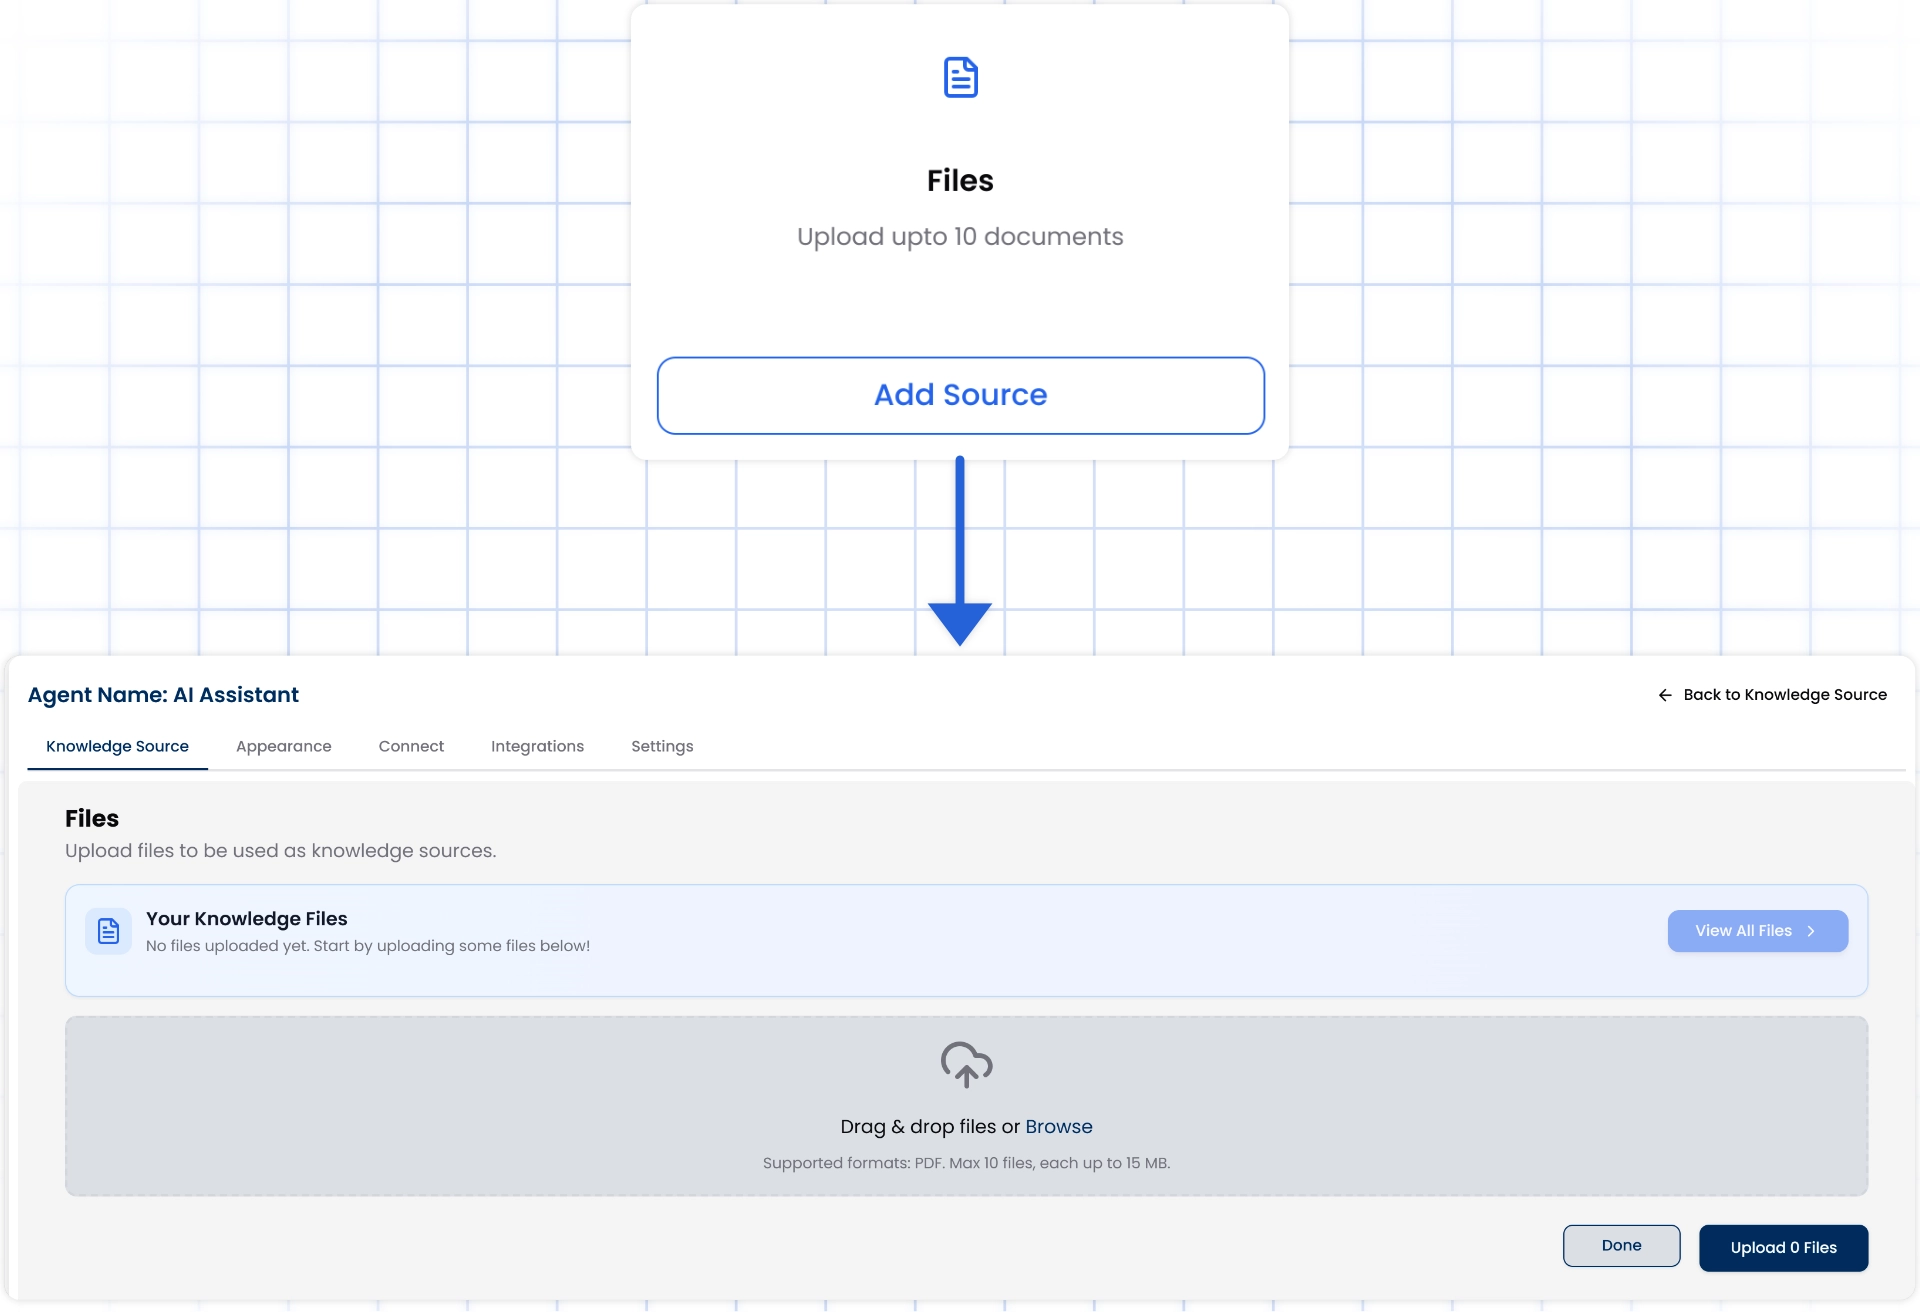
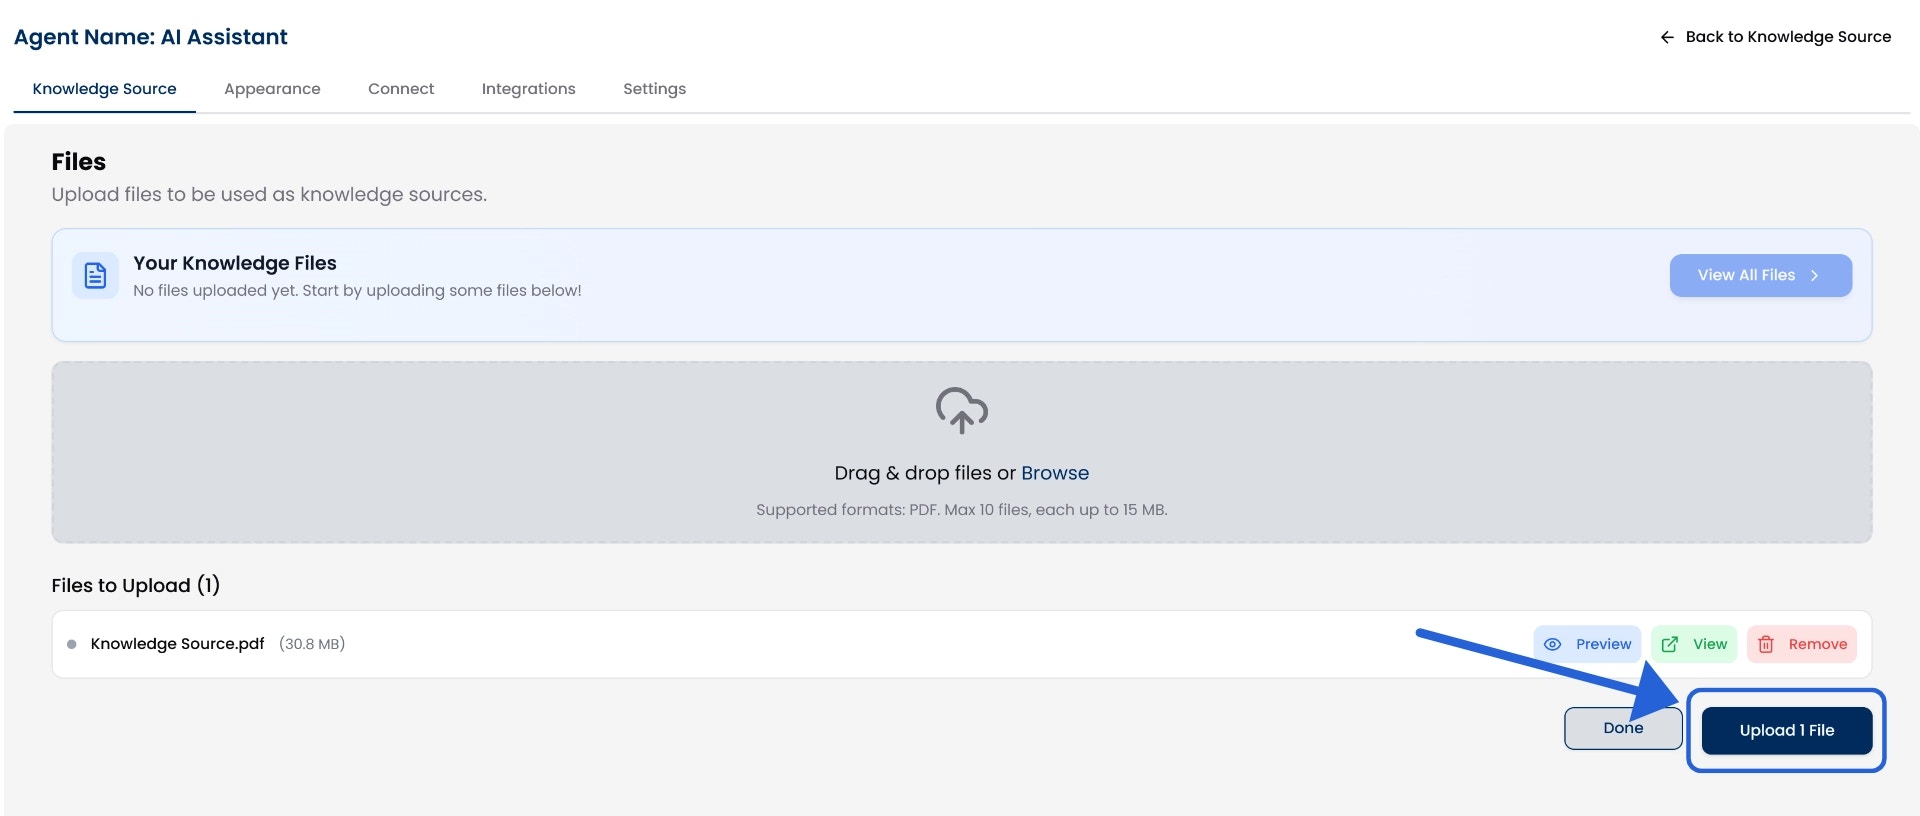
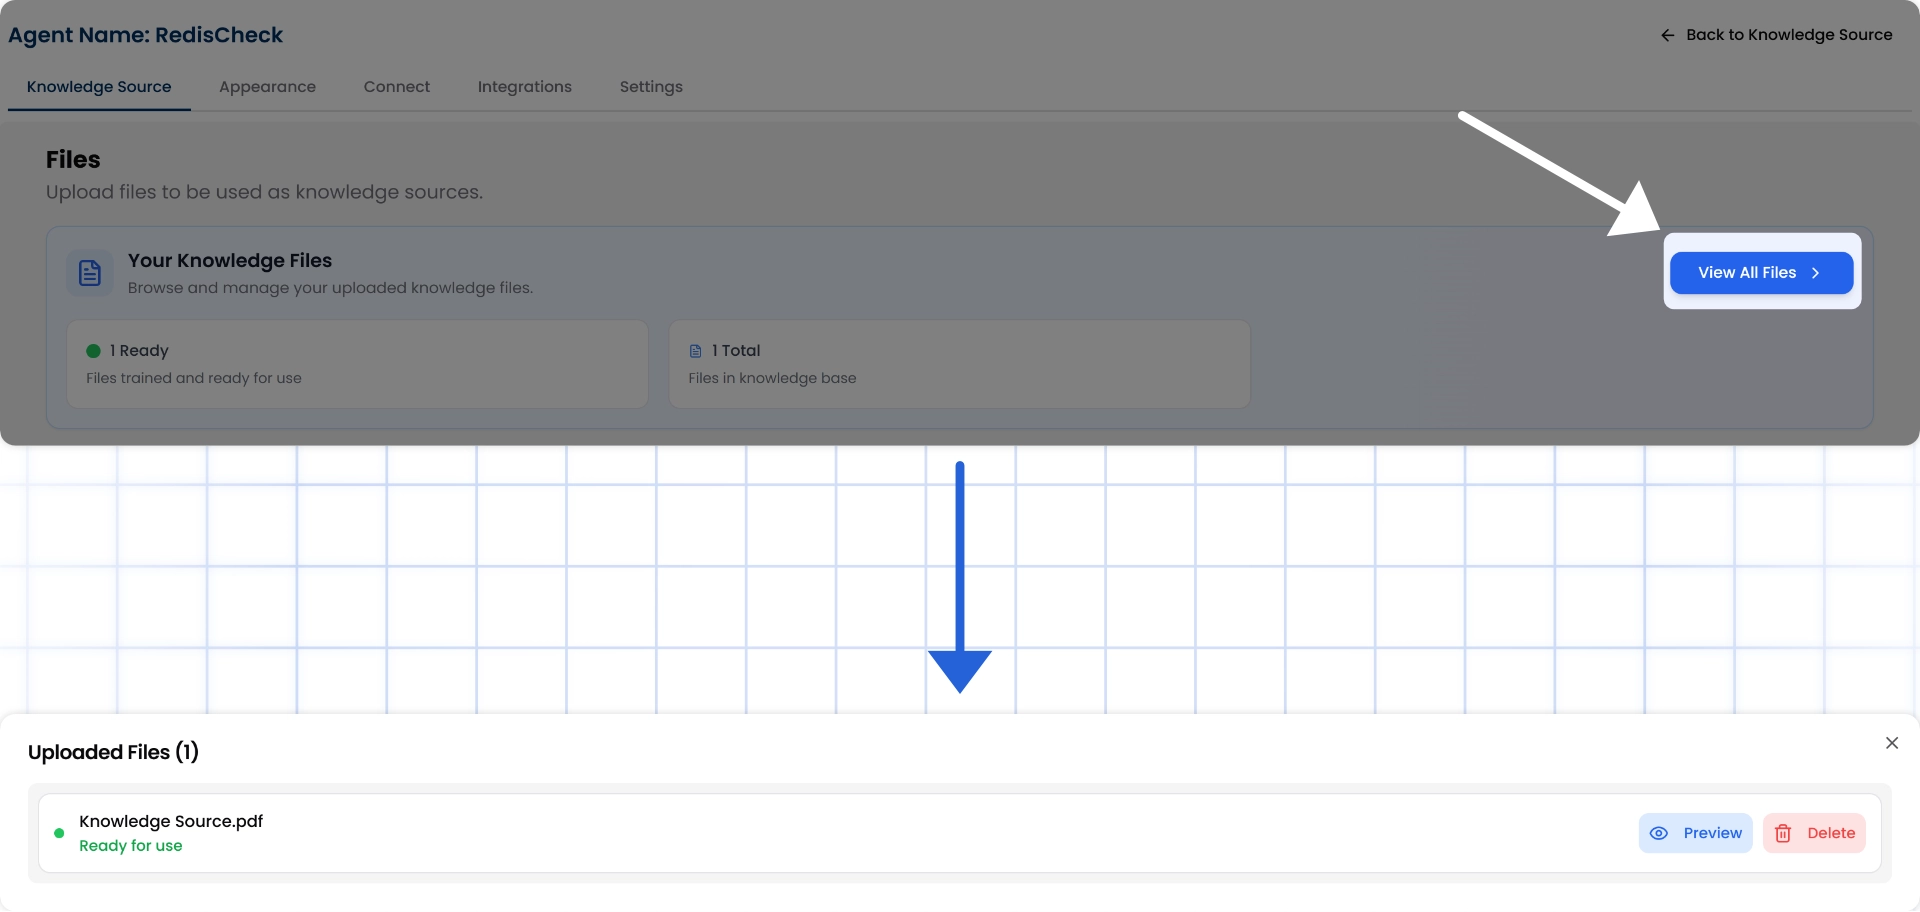
Supported format: PDF only. Upload up to 10 files at a time, with a maximum size of 15 MB per file.
4. Text Content
You can also manually add any custom information you want your chat agent to know by using the Text option. This is useful when you want to add internal instructions, product manuals, or any unique details that aren’t available on your website or files.How to add text content:
Go to the “Text” tab and click Add Source from the Knowledge Sources section.
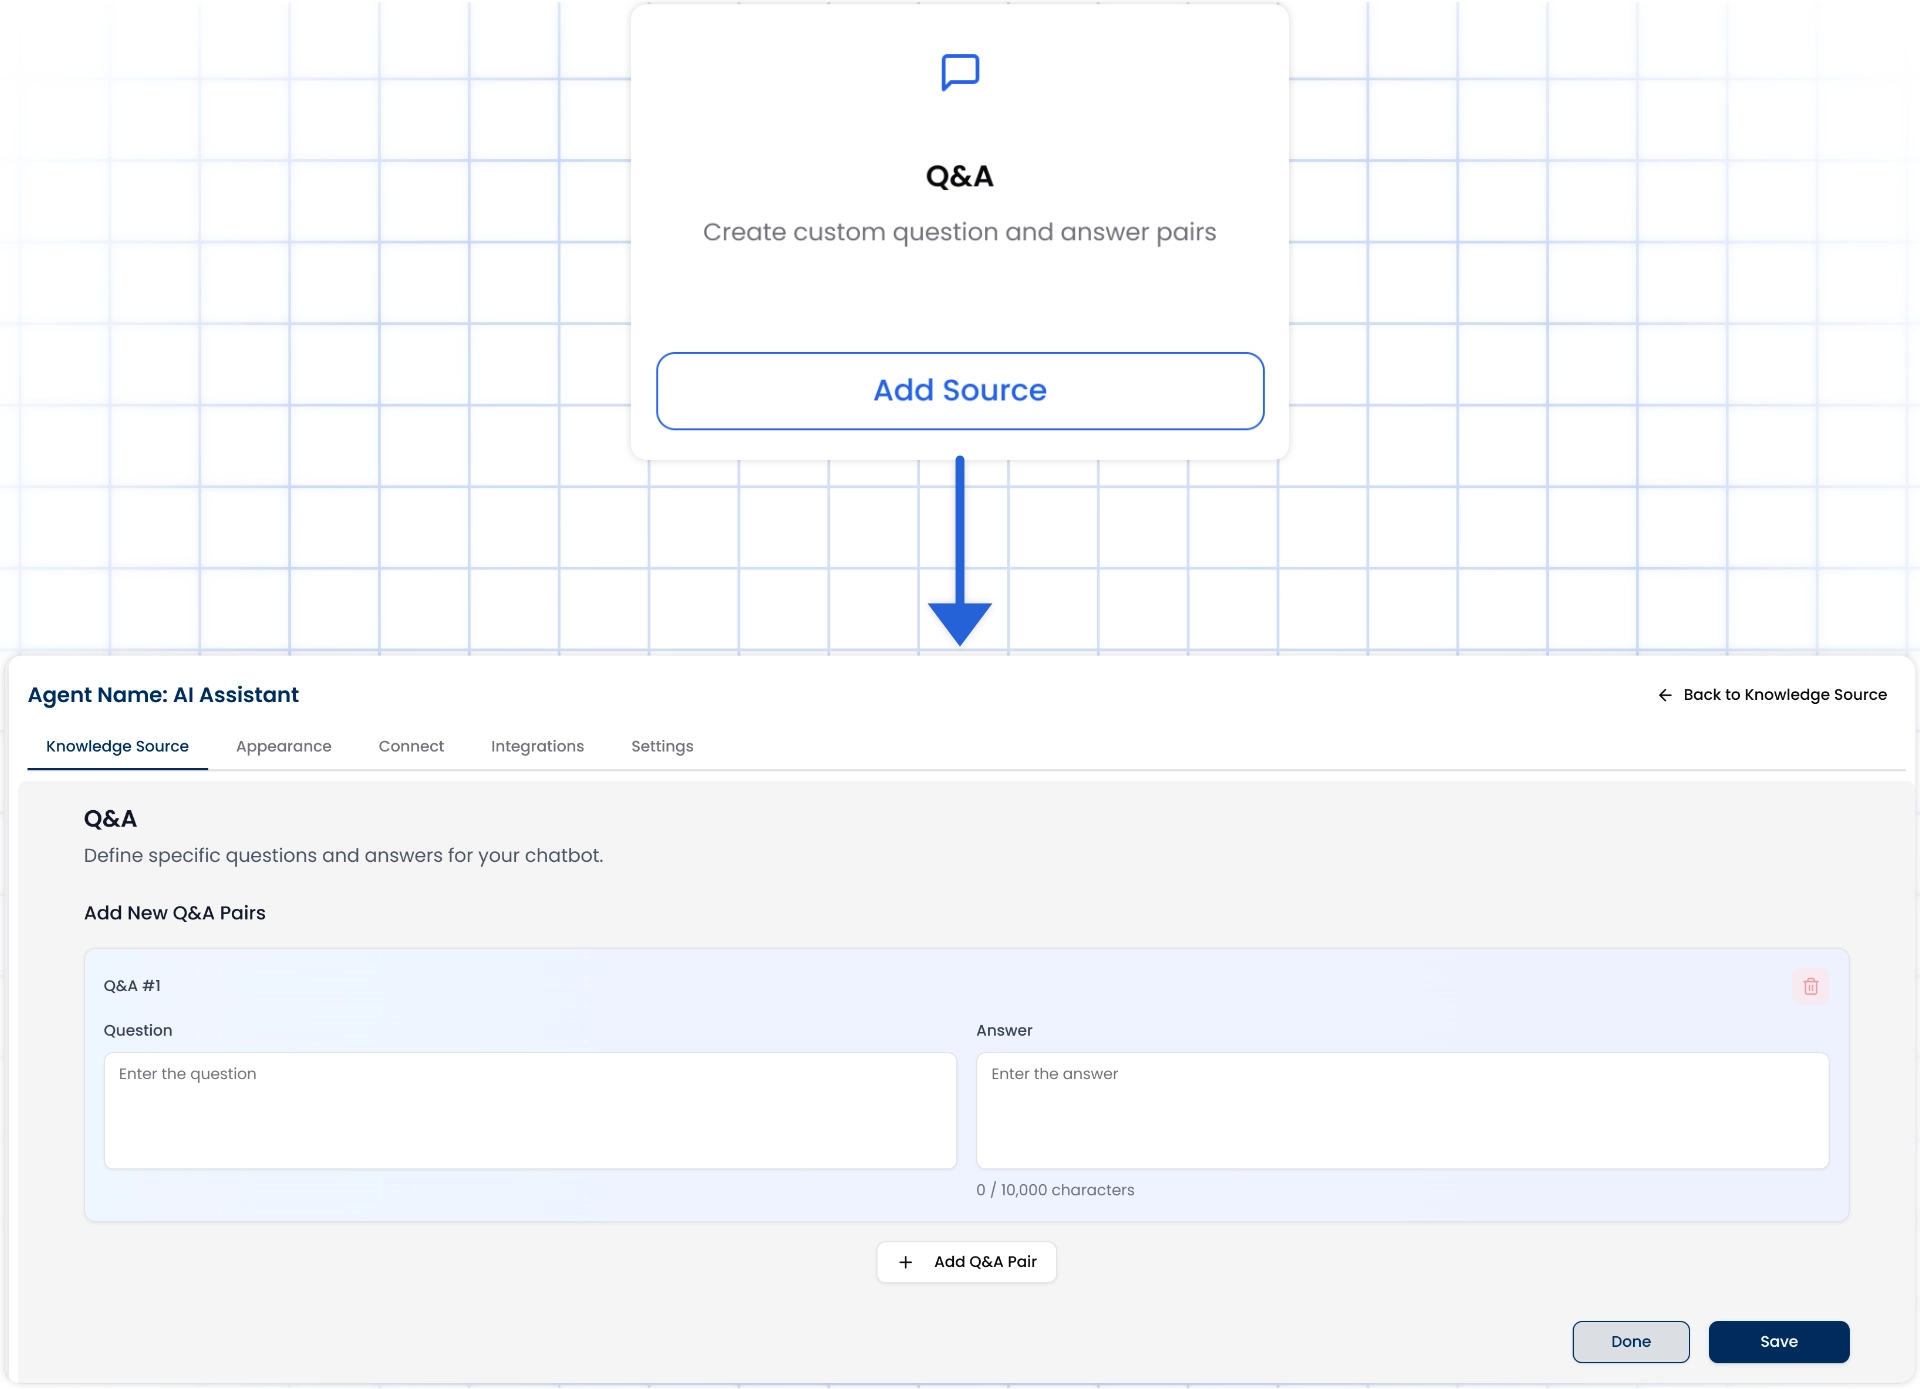
5. Train with Q&A
If you already have a list of commonly asked questions and answers, you can directly add them to train your chat agent. This method is especially useful for creating focused and accurate responses around your product, services, or support needs.How to Use It:
Go to the “Q&A” tab and click Add Source from the Knowledge Sources section.