1. Go to AI Agents
From the left-hand sidebar, navigate to the AI Agents section and click on Create Your Mortgage Agent.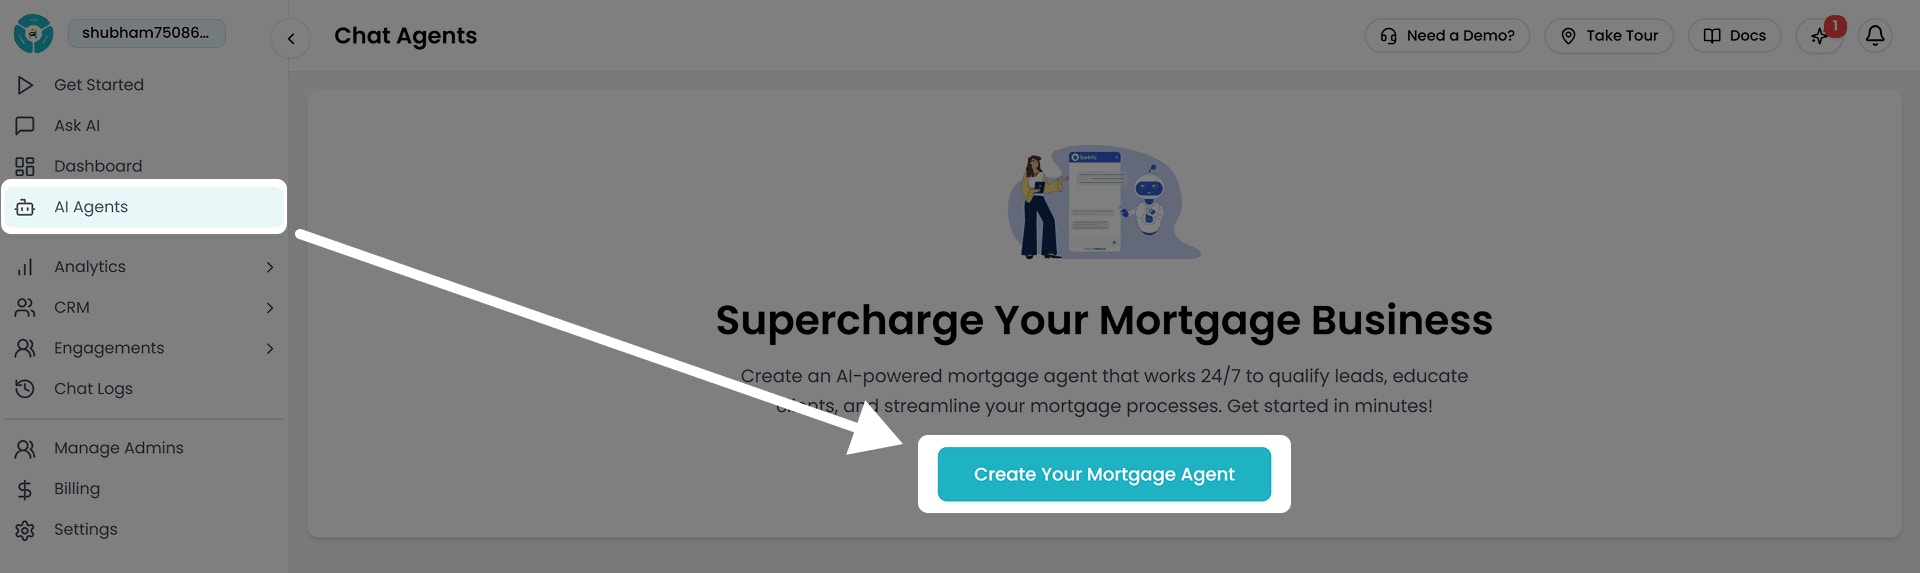
You can also manage, edit, update, or deactivate your existing chat agents from this section anytime.
2. Name Your Agent
Enter a simple and clear name for your agent, like Support Agent or AI Assistant. This helps keep things organized, especially if you create multiple agents later.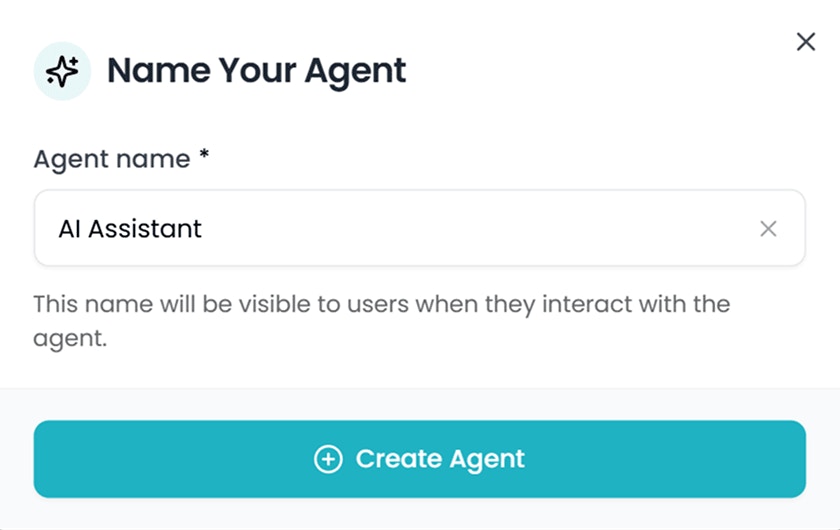
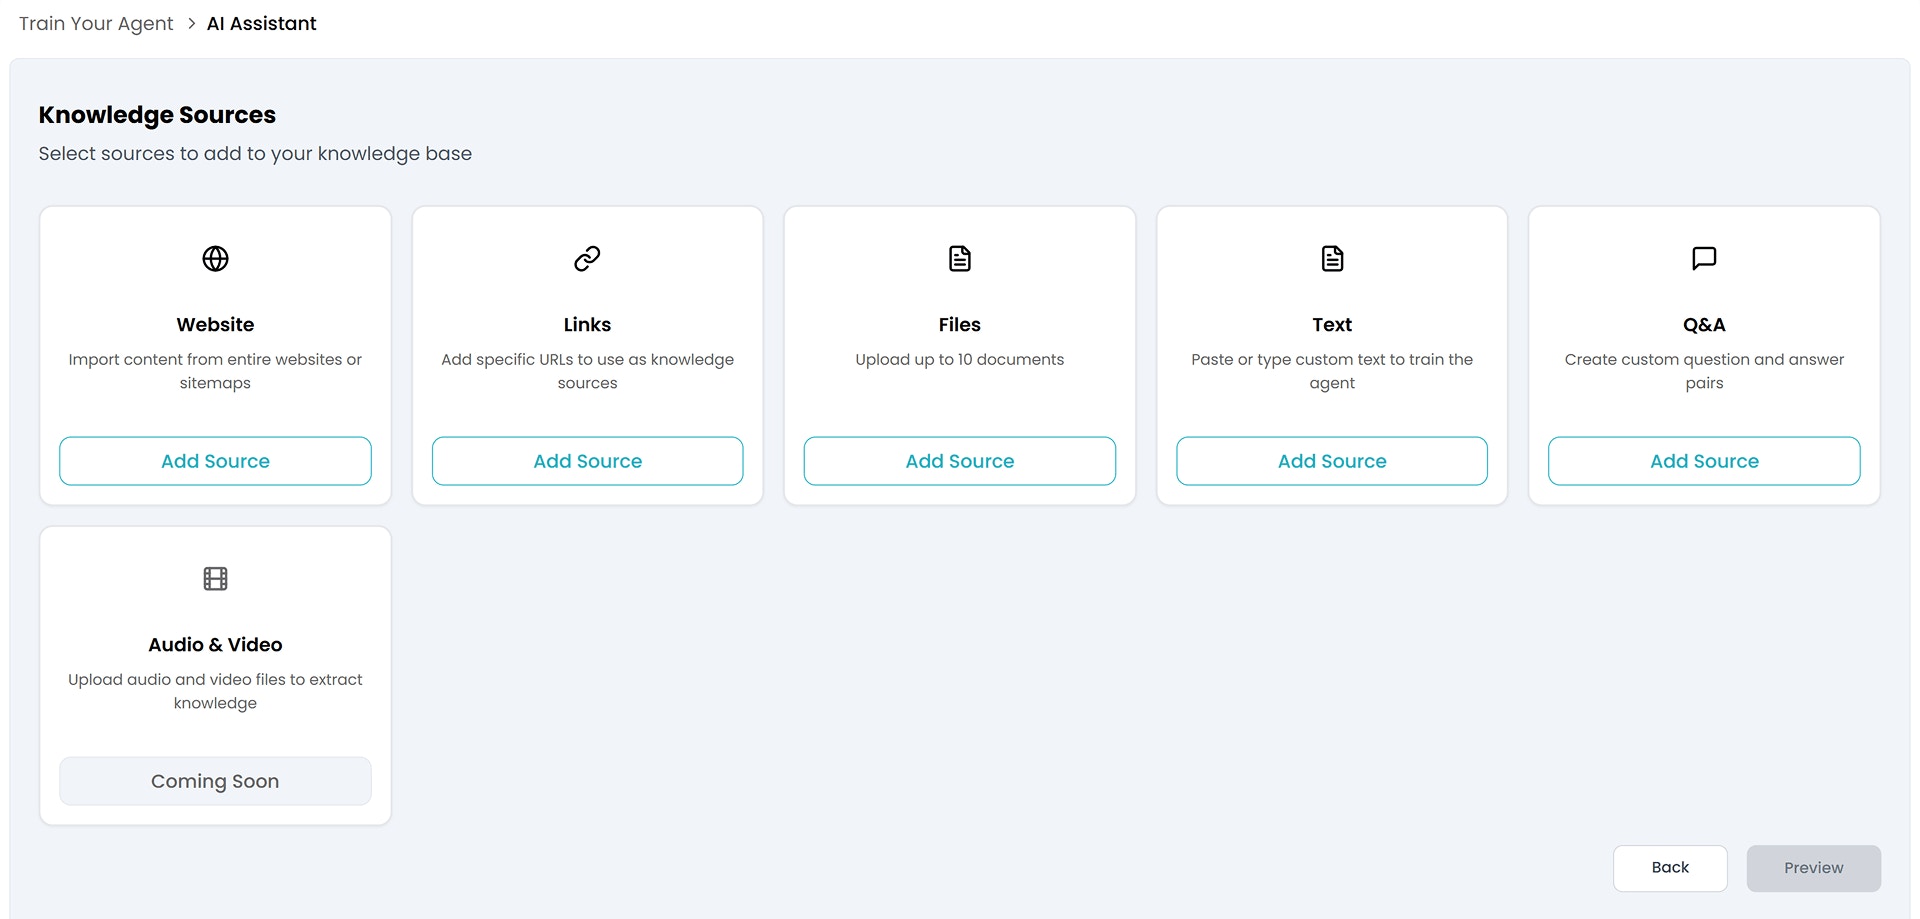
3. Upload Your Data
To help your AI agent respond accurately, you can train it using a variety of content sources. Here’s what you can add:- Add your website or sitemap
- Upload files like PDFs.
- Add direct URLs to key pages or knowledge bases
- Paste text or question-answer pairs manually.
- Add videos or audio content
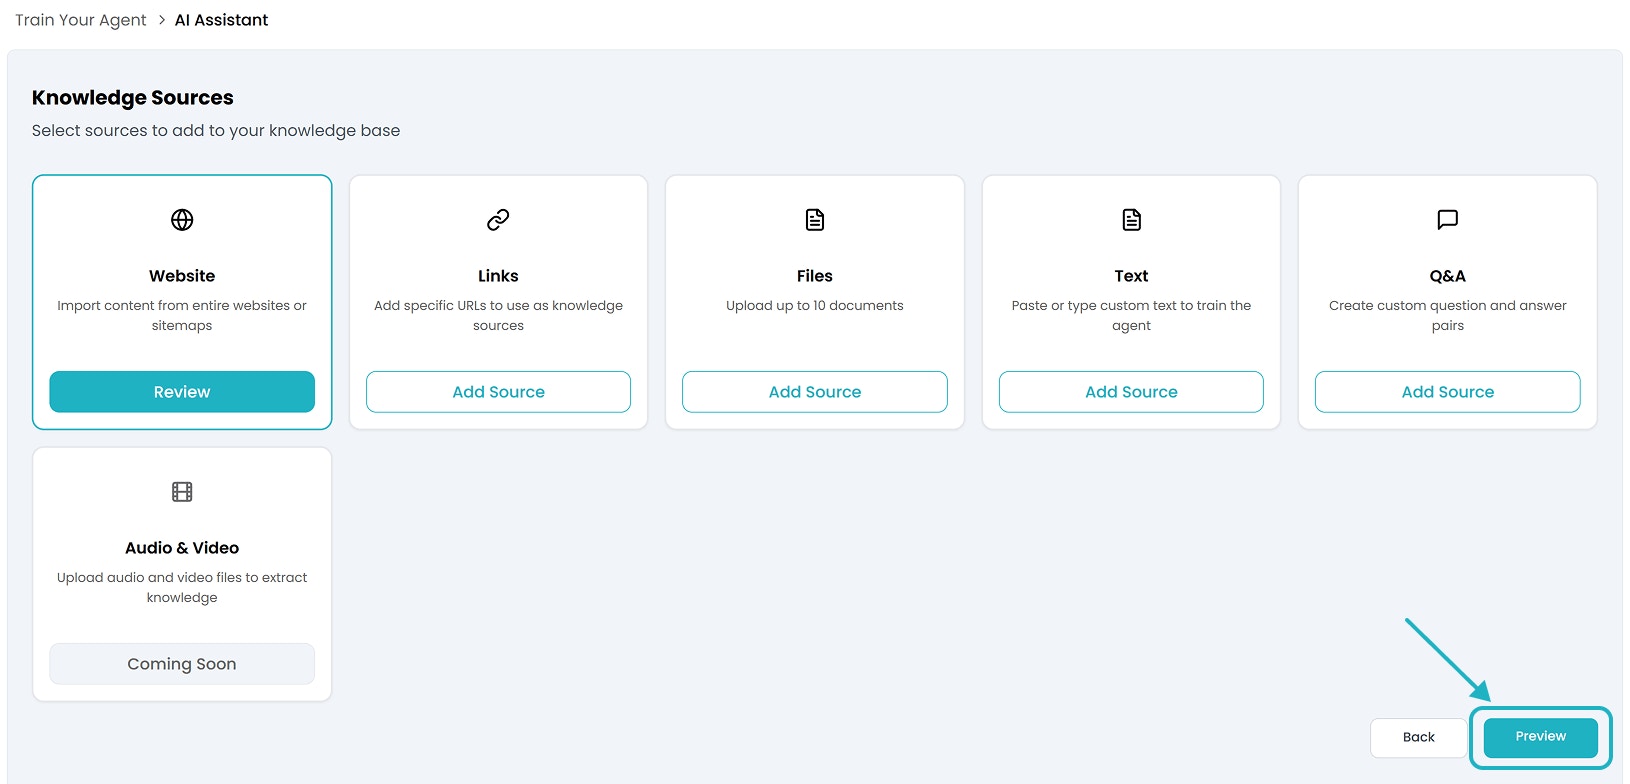
Start with Your Website:
You can start training your chat agent by importing content directly from your website or sitemap. Just click “Add Source” under the Website option to get started.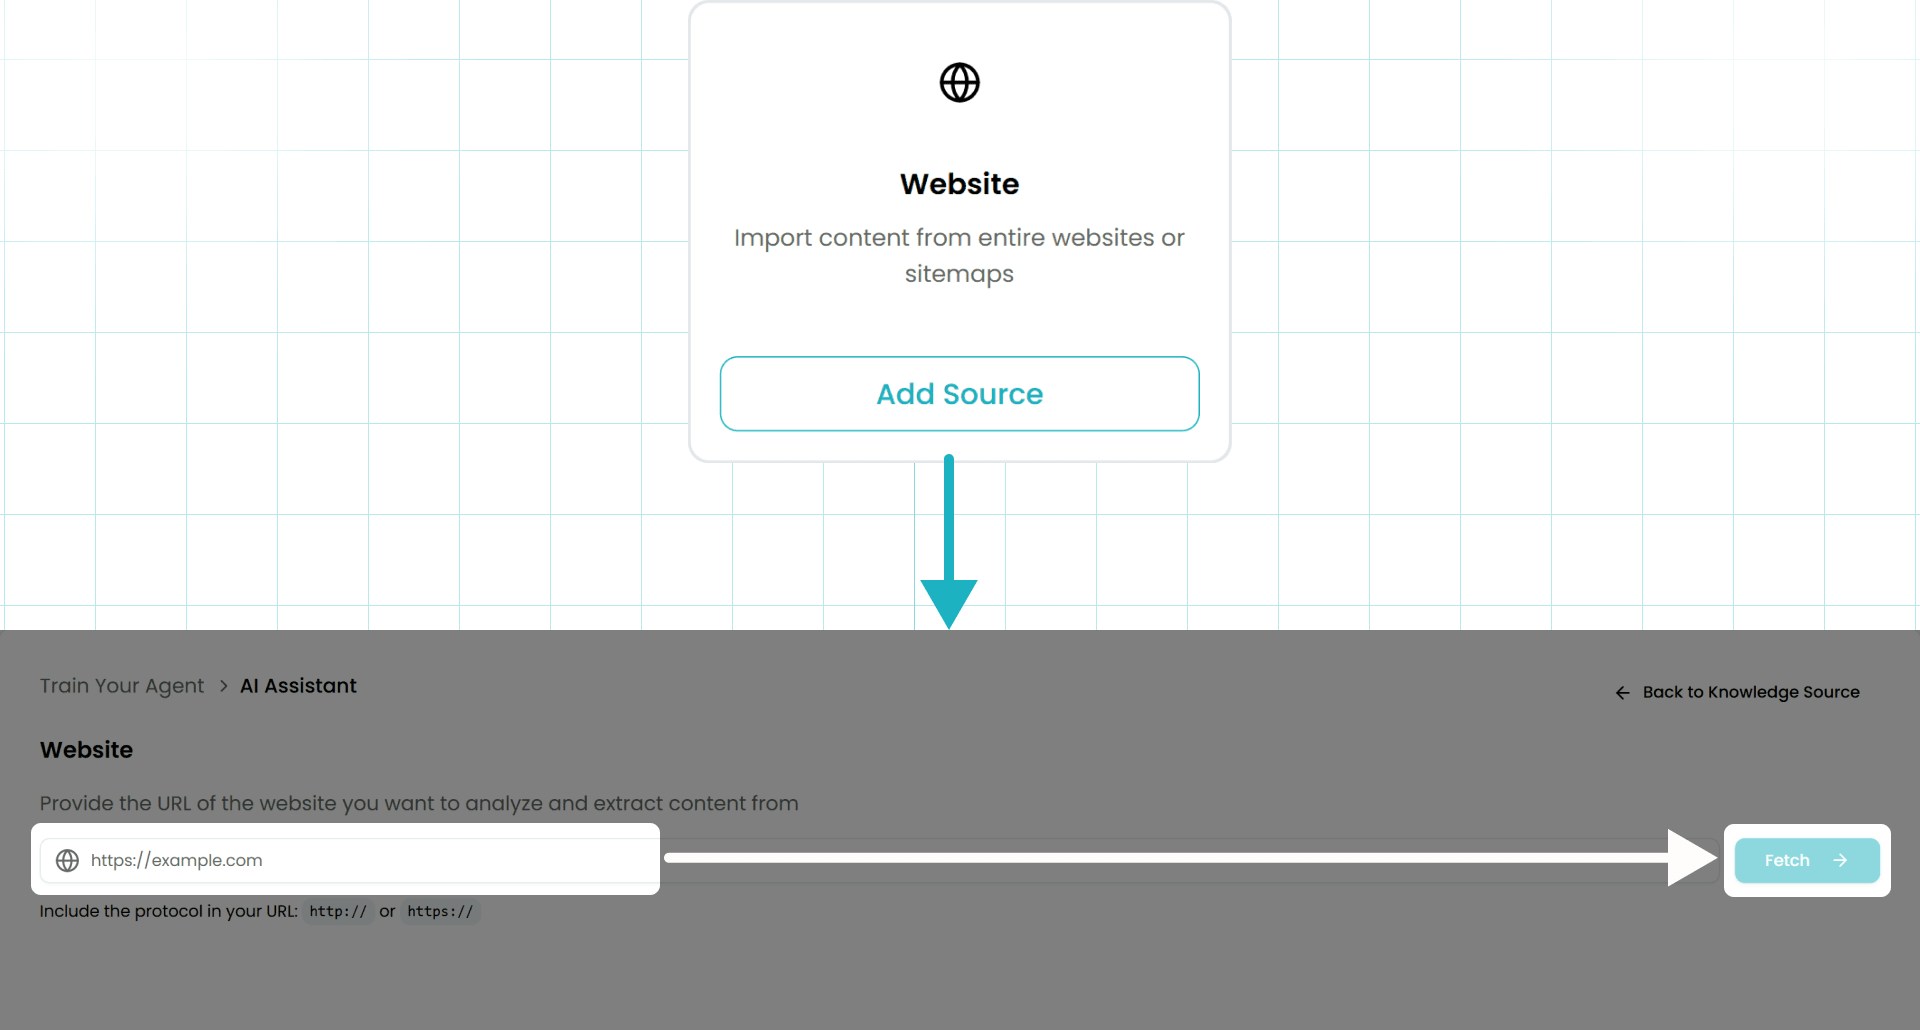
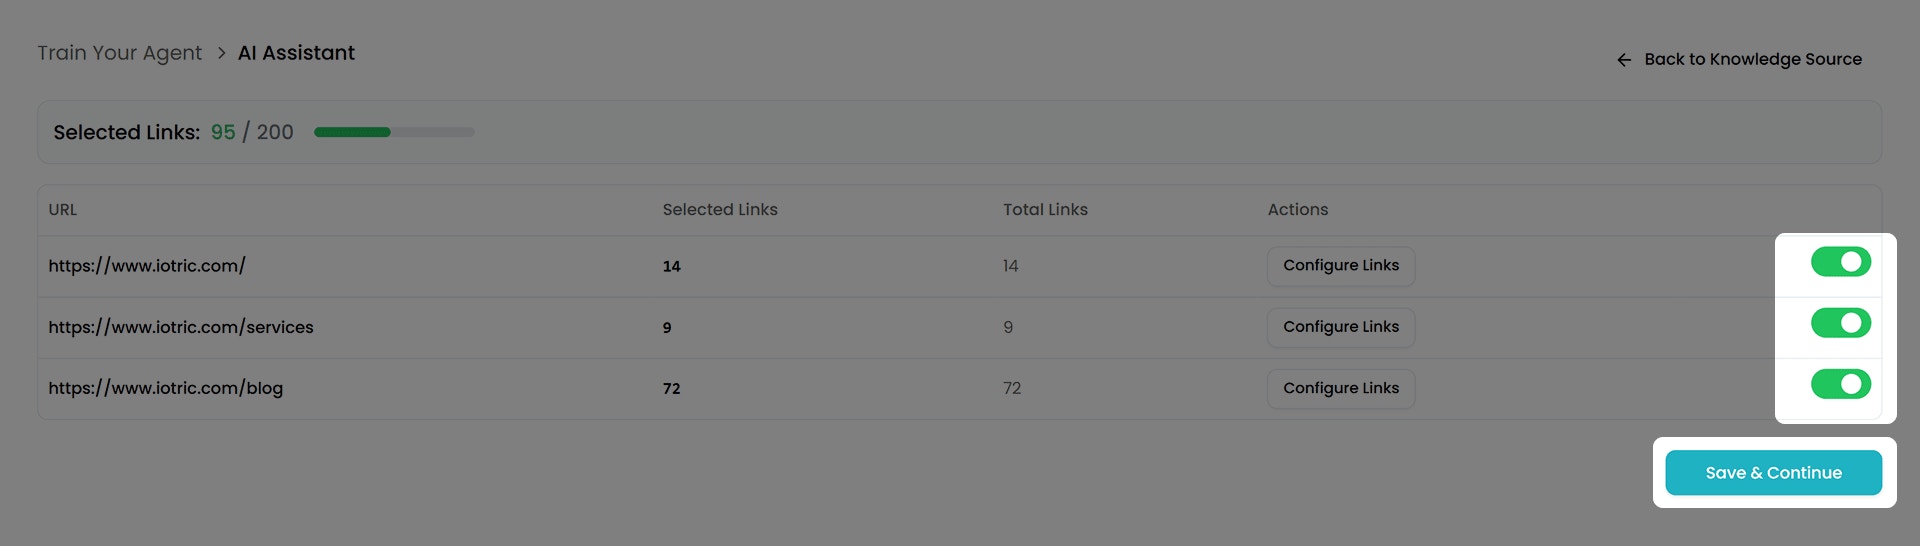
- Select specific links to use for training.
- Or click Save Links to include all of them.
You can also train your agent using direct links, file uploads, or plain text. We’ll explore each of these methods in detail on the dedicated Knowledge Sources page.
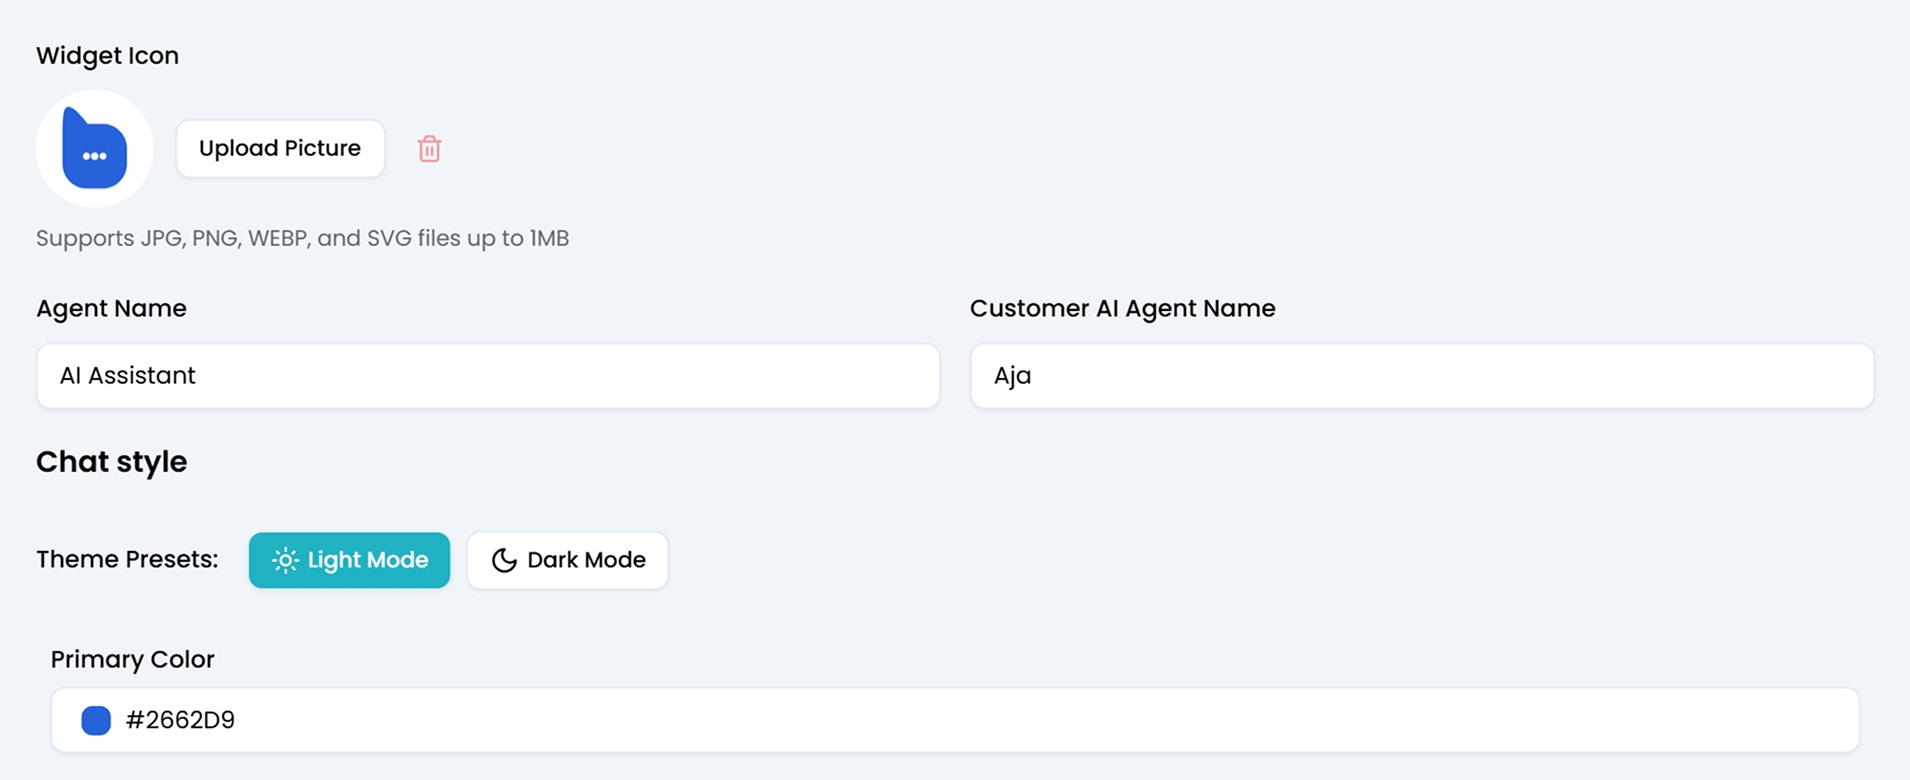
4. Customize Your Agent
In the Appearance section, you’ll get a Preview URL where you can test your chat agent live.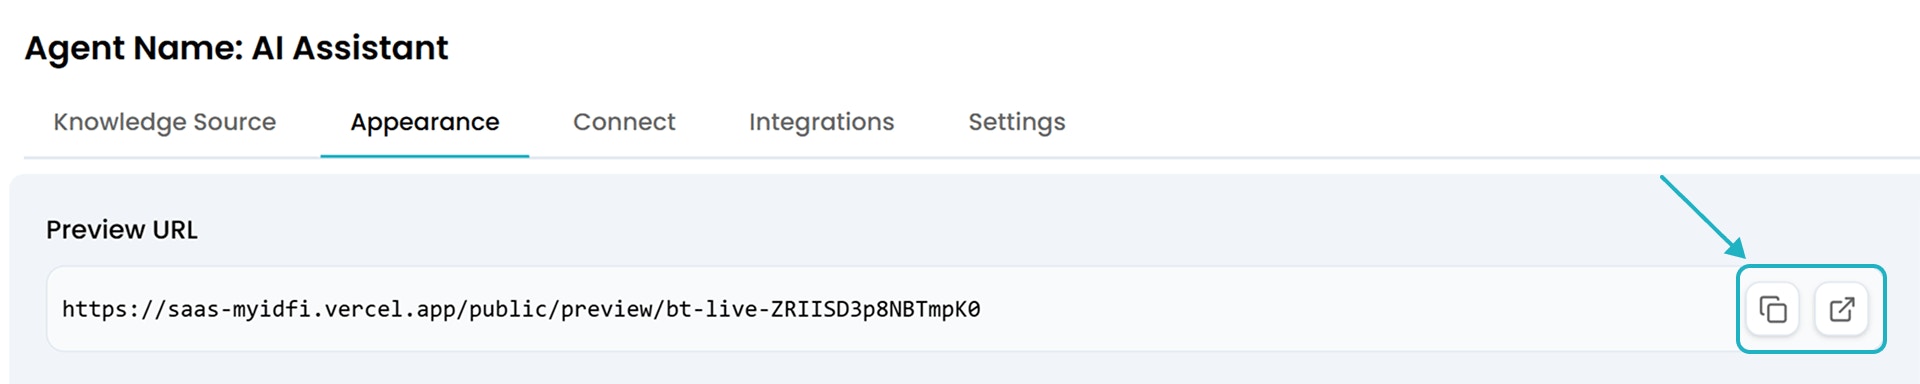
5. Deploy Your Agent
Once you’re satisfied with how your chat agent performs, you can easily integrate it into your website using either of the two methods available under the Connect tab in the myIDFI AI dashboard:
1. Script Tag (Floating Chat Bubble)
This adds a floating chat bubble to your website.- Simply copy the provided
<script>tag. - Paste it inside the
<head>section of your website’s HTML.
2. iframe Embed (Static Widget Placement)
If you prefer embedding the chat directly into a specific part of your page (like inside a contact section or a dedicated support panel), use the iframe embed option.- Copy the given
<iframe>code. - Paste it wherever you want the chat widget to appear within your page.
- You can adjust:
widthandheightattributes- CSS styles like
border-radiusorbox-shadow - Add an
idorclass` for custom styling
6. Live Preview
Want to see how the chat agent will appear on your site? Here’s a quick preview of the Iotric AI Assistant we just created, embedded on a webpage: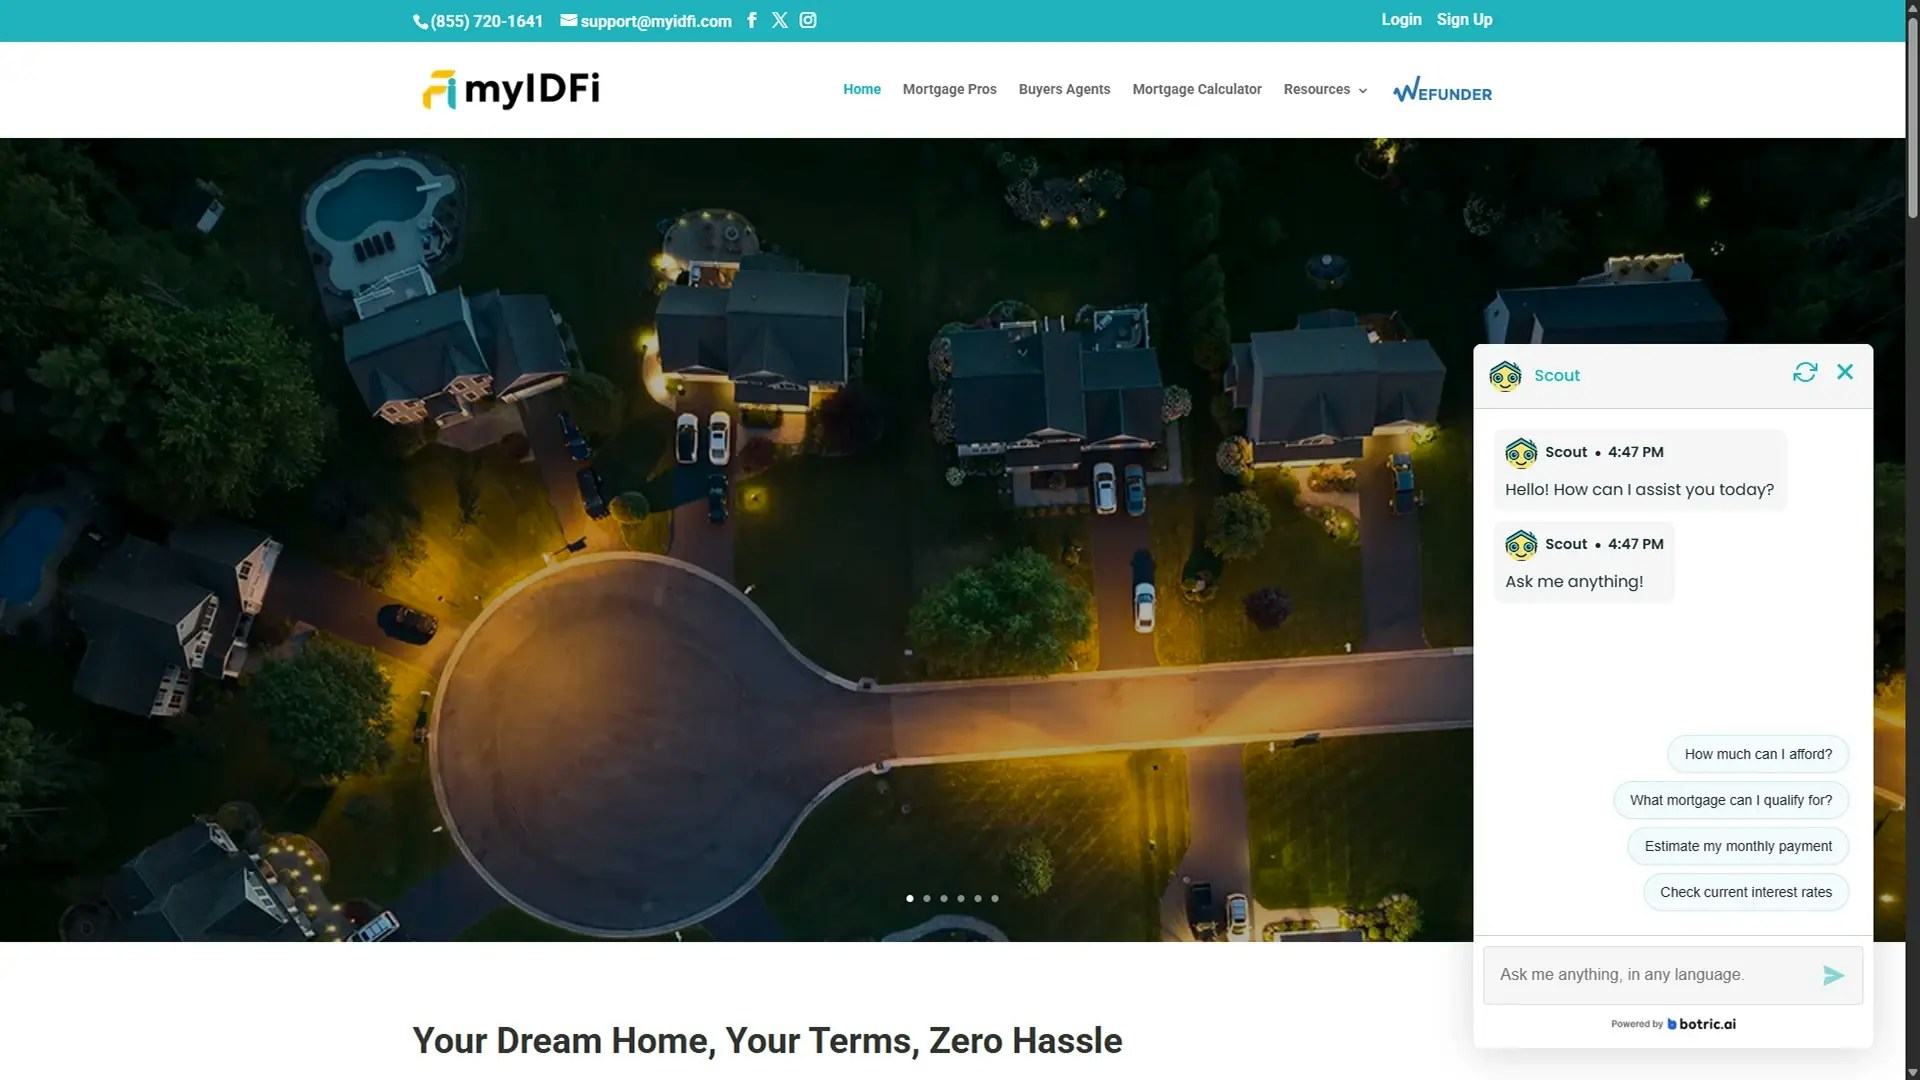
Knowledge Sources
Manage and update the data your agent learns from.
Integration
Connect your agent to external tools and workflows.
Analytics
Track how your agent is performing. View total conversations, resolution rates, and growth trends.
Chat Logs
Use chat logs to improve agent responses, spot gaps in training, and ensure consistent support quality.